Greetings weird kids of the internet! Today I present the first in a new series of articles on making things your own. My focus is on clothing and accessories, but there are a few other surprises planned for the future. I consider DIY projects extremely important to the goth experience and couldn't imagine filling my closet with factory made items that anyone can grab from the Internet. Even if you think you are terrible at making things or don't feel like you have any artistic talent, you can still make interesting pieces with a little bit of thought and a bunch of safety pins.

Remember these? These monstrosities were popular when I was in high school (2003-2007). I got a few pairs of Tripp pants second hand from a friend who was cleaning out old storage bins. The project I've completed with them can be applied to any old pants, but these made a great base and provided an opportunity to recycle an item from a popular alternative brand.
Let's get started!
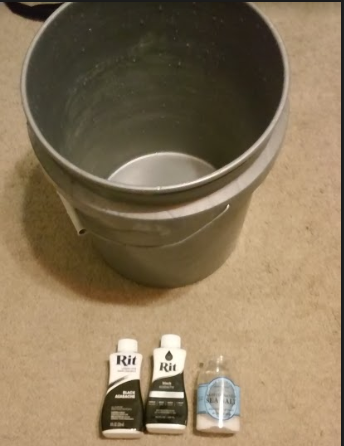
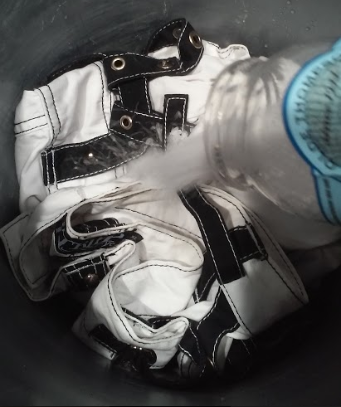
First, we need to dye these. There are lots of tutorials on how to dye fabric so I'll keep it short. I use a 5 gallon bucket, 2 bottles of RIT dye in black, and some salt. Put the fabric and salt (about ½ cup) in the bucket and pour in around 2 gallons of nearly boiling water. Mix in the dye and stir for 30 minutes to evenly distribute the dye. I let this toxic sludge sit at least overnight, and sometimes for a couple days. It's recommended to use gloves and stir carefully (please do, this stuff WILL stain).
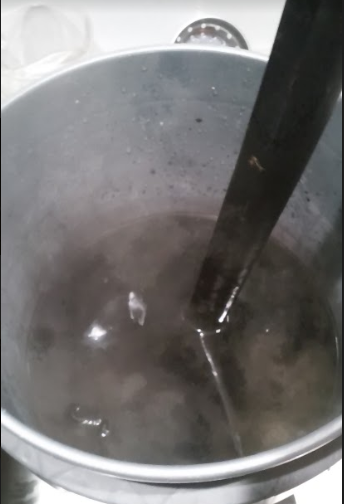
For stirring and letting sit, I use my utility sink, but you can leave the bucket or whatever other container in a garage or on a back porch.
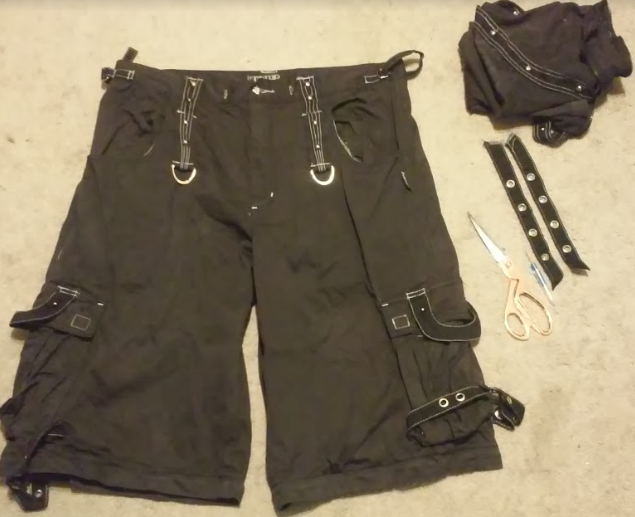
Dye complete! Now it's time to prep the base for adding a variety of embellishments. For a few reasons (I think they’re ugly and unnecessarily large; I live in FLORIDA and existence is SWEAT; and even in platforms, they’re still too long), I decided to completely remove the bottom half of the legs.
After removing these and setting aside for scrap fabric, I also cut the straps away from the pockets. Who wants those getting in the way when trying to retrieve stuff? In addition, I un-clipped the straps from the cargo pockets and buttoned them in a different way.
Finally, the waist size is a bit too small for me, so I made some long cuts through the waist band and about half way down past the pockets. These pants already had conveniently placed waist adjustment straps where I wanted to cut, so the added stability from those was quite welcome.

If there weren't straps there already, I would have added some.
We're now ready for the final steps: adding your own style elements to make the piece truly your own. I already had most of what I used available in my craft bins, but you can find inexpensive elements to add to any piece. If you're feeling especially crafty, you can make some of your own embellishments like I did. If not, support independent artists and bands! I didn't end up using every component here, but I'll list out what I did decide to add and where I got it:

• Halloween fabric scraps – Joanne Fabrics (2018)
• Raven skull pendants – Michael's Crafts (2018)
• Spider web ribbon – Michael's Crafts (2016)
• Patches – Made by me, acrylic on fabric I harvested from old luggage
• Safety pins size 3 – Amazon
After choosing my desired components, I laid out the pants to figure out where I wanted everything to go before attaching it. Through this process I haven't posted any pictures of the back because all I've done is remove 1 strap from the waist band.
Here's where the process can get daunting, but I did very little sewing to assemble the finished product. Of course, you can sew everything on if you want and it will be very secure, but I'm lazy and mostly used safety pins to attach things. I love safety pins anyway, so they naturally mesh with my style.
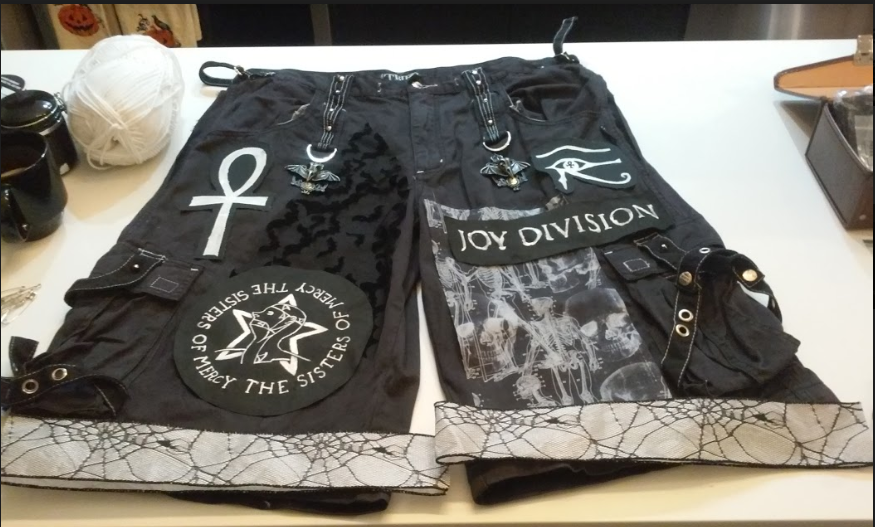
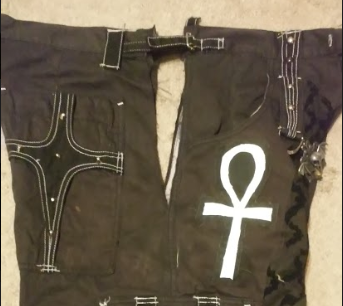
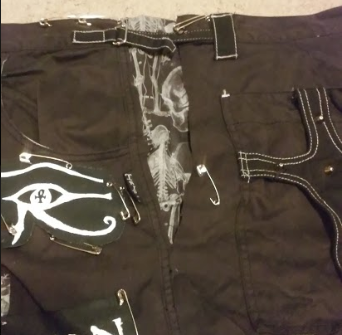
For the side panels, I inserted some spooky fabric and pinned it in place to allow for some movement. I also could have sewn it completely, but I intend to lose some weight and would like to pin the panels shut again in that case, so I don't want to have to rip the fabric out later. The only sewing I did was for the fabric panels and the ankh patch. These I stitched by hand. Everything else is pinned in place with size 3 safety pins. I attached the raven skull pendants to the preexisting D-rings using some jump rings from my jewelry supplies. They're the kind chain mail artists use.

Here we have the final product! I actually wore them for the most recent Obscura Undead event on 11/30 and did an absurd amount of dancing in them. All of the elements held fast and I didn't have to reattach anything. I have often found smaller sized safety pins to be a problem, but these are really sturdy and hold everything together well. The only complication I had was that one of the side panel cuts I made ripped a bit farther along, but that's my own fault for not stitching the bottom of the cuts to reinforce them.
I'm really satisfied with how this piece turned out. I encourage everyone to give similar projects a try. You'll find its really rewarding when you make an item that no one else has and that uniquely expresses your interests.
I'd also like to highlight a cost estimate for anyone worried about that. If I wasn't given these pants I would have used a thrifted pair (around $4 US). RIT dye is just under $5 a bottle. The fabric scraps, ribbon, pins, and pendants, plus a bottle of acrylic paint, total around $20 US. The patches only cost my time since I painted them myself.
That brings us to an estimated total cost of $35, and it could be much cheaper depending on what you decide to do.
Thanks for taking the time to read about my process. If you try any of my methods, let me know how they go! And if you have a project you would like me to tackle, leave a comment here or on the Obscura Undead Facebook page.
You can find Jason’s patches and one of a kind jewelry online at Junkyardbat on Etsy, and give him a follow on Instagram @junkyardbat to keep up with his latest projects and items for sale. Don’t see something quite what you want? Feel free to send him a message. He is open for commissions.